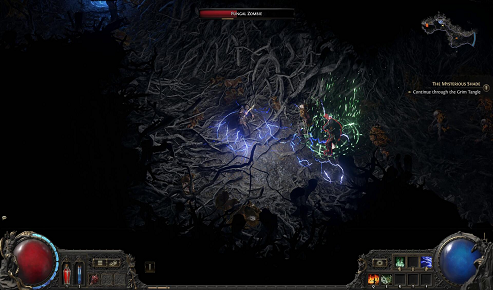
Gemling ED Contagion feels good because it lets you keep moving. You are not planted in place waiting for a big hit to land. Instead, you tag a pack with Contagion, fire Essence Drain into the right enemy, and watch the damage travel through the group as things fall over. It is one of those setups that starts to click once you stop trying to cast on every monster. For players building toward tougher maps, setting aside some POE 2 Currency for key upgrades makes a noticeable difference, especially when your weapon and gems are still behind the content you want to run. The build does not need every slot to be perfect early on. It does, however, reward smart upgrades more than random ones.
How the Clear Actually Works
Contagion is the setup button. Essence Drain is the damage button. Put Contagion over a dense pack, then hit a target near the middle with Essence Drain. When that target dies, the damage effect can move to nearby infected enemies, and the pack starts collapsing without much extra input from you. In narrow map layouts, this can feel almost silly. One cast sequence handles a screen of enemies, then you are already moving toward the next group. Open areas take a little more care. You may need to place Contagion twice or choose a target closer to the centre of the pack. That is not a problem; it is just part of learning the rhythm. Don't rush into every group, either. Cast from range, let the damage do its job, and use your movement skill before enemies get a clean line on you.
Gemling Priorities That Matter
Gemling Legionnaire brings value through gem-focused scaling and flexible character growth. That suits Essence Drain well, since extra gem levels often beat smaller increases to generic spell damage. If you are looking at two possible upgrades, the one with Chaos skill levels or spell skill levels is usually worth a hard look first. After that, Chaos Damage over Time Multiplier is one of the better damage stats you can find. Cast speed is useful too, though it should not come at the cost of defences or gem levels. The build feels smoother when Essence Drain and Contagion come out quickly, particularly in maps where packs arrive from awkward angles. On the passive tree, aim for Chaos damage, DoT multiplier, cast speed, life or Energy Shield, resistances, and enough mana support to keep casting without stopping. It is tempting to chase every damage node. Most players regret doing that when a boss catches them with one bad hit.
Gear and Boss Encounters
Your weapon is the place to spend first. A wand or staff with added levels to Chaos or spell gems can change the build far more than a modest armour replacement. Look for damage over time multiplier, spell damage, cast speed, and any useful defensive stat you can fit around those. On armour, life or Energy Shield, elemental resistances, and movement-related comfort are more important than trying to squeeze damage out of every piece. Boss fights are less about blasting and more about keeping the drain active. Apply Essence Drain, move out of danger, then refresh it when needed. Contagion has less work to do in a single-target fight, but it can still help where adds are present. The important bit is patience. Do not stand still to force extra casts if the arena is getting busy. ED keeps dealing damage while you reposition, and that is the build's real edge in long encounters.
Final Thoughts
Gemling ED Contagion is a practical choice for players who want fast mapping without giving up the ability to tackle demanding bosses. It has a learning curve, but it is a comfortable one: get used to placing Contagion well, pick the correct Essence Drain target, and keep your character moving. Start with gem levels and a capable weapon, then build defences around capped resistances and a healthy life or Energy Shield pool. As your setup improves, better Path of Exile 2 Items can push both survivability and damage without changing the core playstyle. That consistency is why the build holds up so well. It clears crowded maps with very little fuss, stays safe at range, and gives you room to learn difficult fights rather than trying to overpower every encounter in a few seconds.